
Soil Sampling: The First Step to a Healthier Lawn and Garden
When it comes to growing a lush lawn, a thriving garden, or a productive food plot, soil health is the foundation of success. Soil sampling is one of the most effective tools to understand your soil's condition and determine what nutrients it needs. By identifying nutrient deficiencies and soil imbalances, you can make informed decisions about fertilizer use, save money, and improve your plants’ health and productivity.
Here’s a step-by-step guide to soil sampling and how to use the results to unlock your soil's potential.
What Is Soil Sampling?
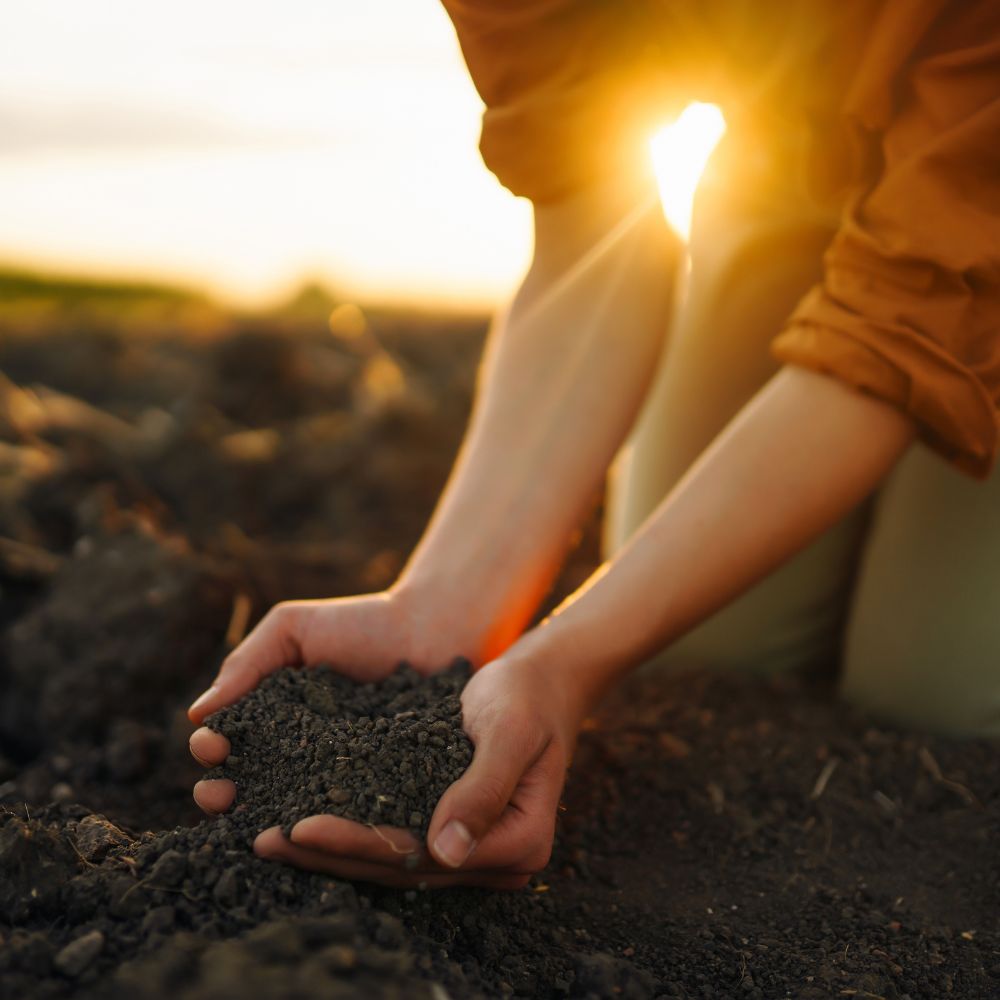
Soil sampling involves collecting a small amount of soil from various locations in your lawn, garden, or food plot and analyzing it to determine its nutrient content, pH level, and other characteristics. The results give you a clearer picture of what your soil lacks and how to correct it with products like Lush Spring Lawn Fertilizer, Replenish Summer Lawn Fertilizer, or Rack Chaser Food Plot Fertilizer.
Why Soil Sampling Matters
Without testing your soil, applying fertilizers is often a guessing game. Soil sampling eliminates the guesswork, ensuring:
- Targeted Nutrient Application - Add only what your soil needs.
- Cost Efficiency - Avoid over-application of fertilizers.
- Optimal Plant Health - Provide the right nutrients for better growth and yield.
- Sustainability - Improve soil health over time by addressing imbalances.
Step-by-Step Guide to Soil Sampling
Choose the Right Time
-
Take soil samples before planting season, ideally in early spring or fall, when the soil is neither too wet nor too dry.

Gather Your Tools
- A clean soil probe or trowel
- A clean plastic bucket (avoid metal buckets to prevent contamination).
- A resealable bag or soil sample bag (available free with the purchase of a OFS Soil 12” probe).
Collect Samples from Multiple Locations
- For lawns - Take samples from 6-8 different spots across your lawn.
- For gardens or food plots - Collect from areas with varying soil conditions.
- Probe down - 4-6 inches for lawns and 6-8 inches for gardens.
Mix and Combine
- Combine the soil from all sampling spots in the bucket. Mix it thoroughly to create a representative sample.
Prepare the Sample for Testing
- Remove debris such as rocks, roots and grass.
- Place about 2 cups of soil into the resealable bag or sample bag.
Send It to a Lab
- Contact your local agricultural extension office or a trusted soil testing lab for instructions on where to send your sample.
Review Your Results
- The lab will provide information on nutrient levels, pH and any amendments needed to improve soil health.
What to Do with the Results
Once you have your soil test results, it’s time to act. Based on your soil's nutrient needs, you can select the right fertilizer for your lawn or garden:
For Lawns
- Start with Lush Spring Lawn Fertilizer to encourage early-season growth.
- Follow with Replenish Summer Lawn Fertilizer for stress resistance.
- End with Finale Fall Fertilizer to prepare your lawn for winter.
For Gardens
- Use OFS Vegetable Fertilizer or OFS Tomato Fertilizer to promote healthy vegetables like cucumbers, broccoli and lettuce, tomatoes, peppers, and cabbage.
For Food Plots
- Choose Rack Chaser Food Plot Fertilizer for lush, nutrient-rich forage to attract wildlife.
Tips for Long-Term Soil Health
- Rotate Fertilizers - Adjust your fertilizer applications seasonally for better results.
- Incorporate Micronutrients - Products like Replenish and Rack Chaser contain micronutrients such as calcium, sulfur, boron, and zinc, which build healthier soil over time.
- Regular Sampling - Test your soil every 2-3 years to monitor changes and maintain balance.
Better Soil, Better Results

Healthy soil is the key to successful lawns, gardens and food plots. Soil sampling ensures you start with a solid foundation, taking the guesswork out of fertilizing and saving time and resources.
By pairing your soil test results with OFS products tailored to your needs, you'll enjoy healthier plants, higher yields, and better-looking lawns. Purchase yours today >